#
Plugin Structure
If you wish to create plugins then you need to understand the basic structure of a plugin.
- Create a folder inside
src/pluginsand name it something unique - Create these additional folders under the new folder you created (not all are necessary)
clientimagesserversoundstranslatewebviewdependenciessharedrmluifonts
#
client
This is where the client-side code belongs. You cannot use NPM packages in these files.
Ensure that you create an index.ts file as an entry point for your client code.
// client/index.ts
import * as alt from 'alt-client';
import '../translate/index.js';
import { useTranslate } from '@Shared/translate.js';

const { t } = useTranslate('en');

alt.log(t('example.hello-from-client'));
#
server
This is where server-side code belongs.
Ensure that you create an index.ts file as an entry point for your server code.
// server/index.ts
import * as alt from 'alt-server';
import '../translate/index.js';
import { useTranslate } from '@Shared/translate.js';

const { t } = useTranslate('en');

alt.log(t('example.hello-from-server'));
#
shared
This is where shared code (constants, events) belongs.
Code below is just example. In shared folder you can store anything you want, that is used by both, clientside and serverside code.
// shared/events.ts
export const MyPluginEventNames = {
    ToServer: {
        FirstToServerEvent: 'myplugin.serverEvent',
    },
    ToClient: {
        FirstToClientEvent: 'myplugin.clientEvent',
    },
};
#
images
Images are any images with the following extensions: jpg, jpeg, png, bmp, svg, webp.
Additionally, the images are loaded as an asset-pack and copied to the webview/public/images folder as well.
Image paths are absolute so if you put an image in the images folder then your html path will be ./images/myplugin-myimage.png.
If you need the image for rmlui then your path will be http://assets/images/myplugin-myimage.png.
<img src="./images/myplugin-myimage.png" />

// OR

<img src="http://assets/images/myplugin-myimage.png" />
Image names need to be unique for your individual plugin, otherwise they will override each other.
#
rmlui
RmlUi is a way to write HTML pages with css2 support. They're highly performant, but can be hard to work with.
In Rebar we just create normal html files but abide by CSS2 support. Confused? Check out these docs.
Rmlui pages and fonts can be loaded with the following paths:
@rmlui/plugins/your-plugin/index.rml@rmlui/plugins/your-plugin/font.ttf
That being said, create a file under the path plugins/your-plugin/rmlui/index.html or whatever you want, and add the following content:
<html>
    <head>
        <title>Input</title>
        <style>
            text {
                color: #ffffff;
            }
        </style>
    </head>
    <body id="body">
        <div id="text">Hello World!</div>
    </body>
</html>
You can also add custom fonts under plugins/your-plugin/rmlui as long as they're in ttf format.
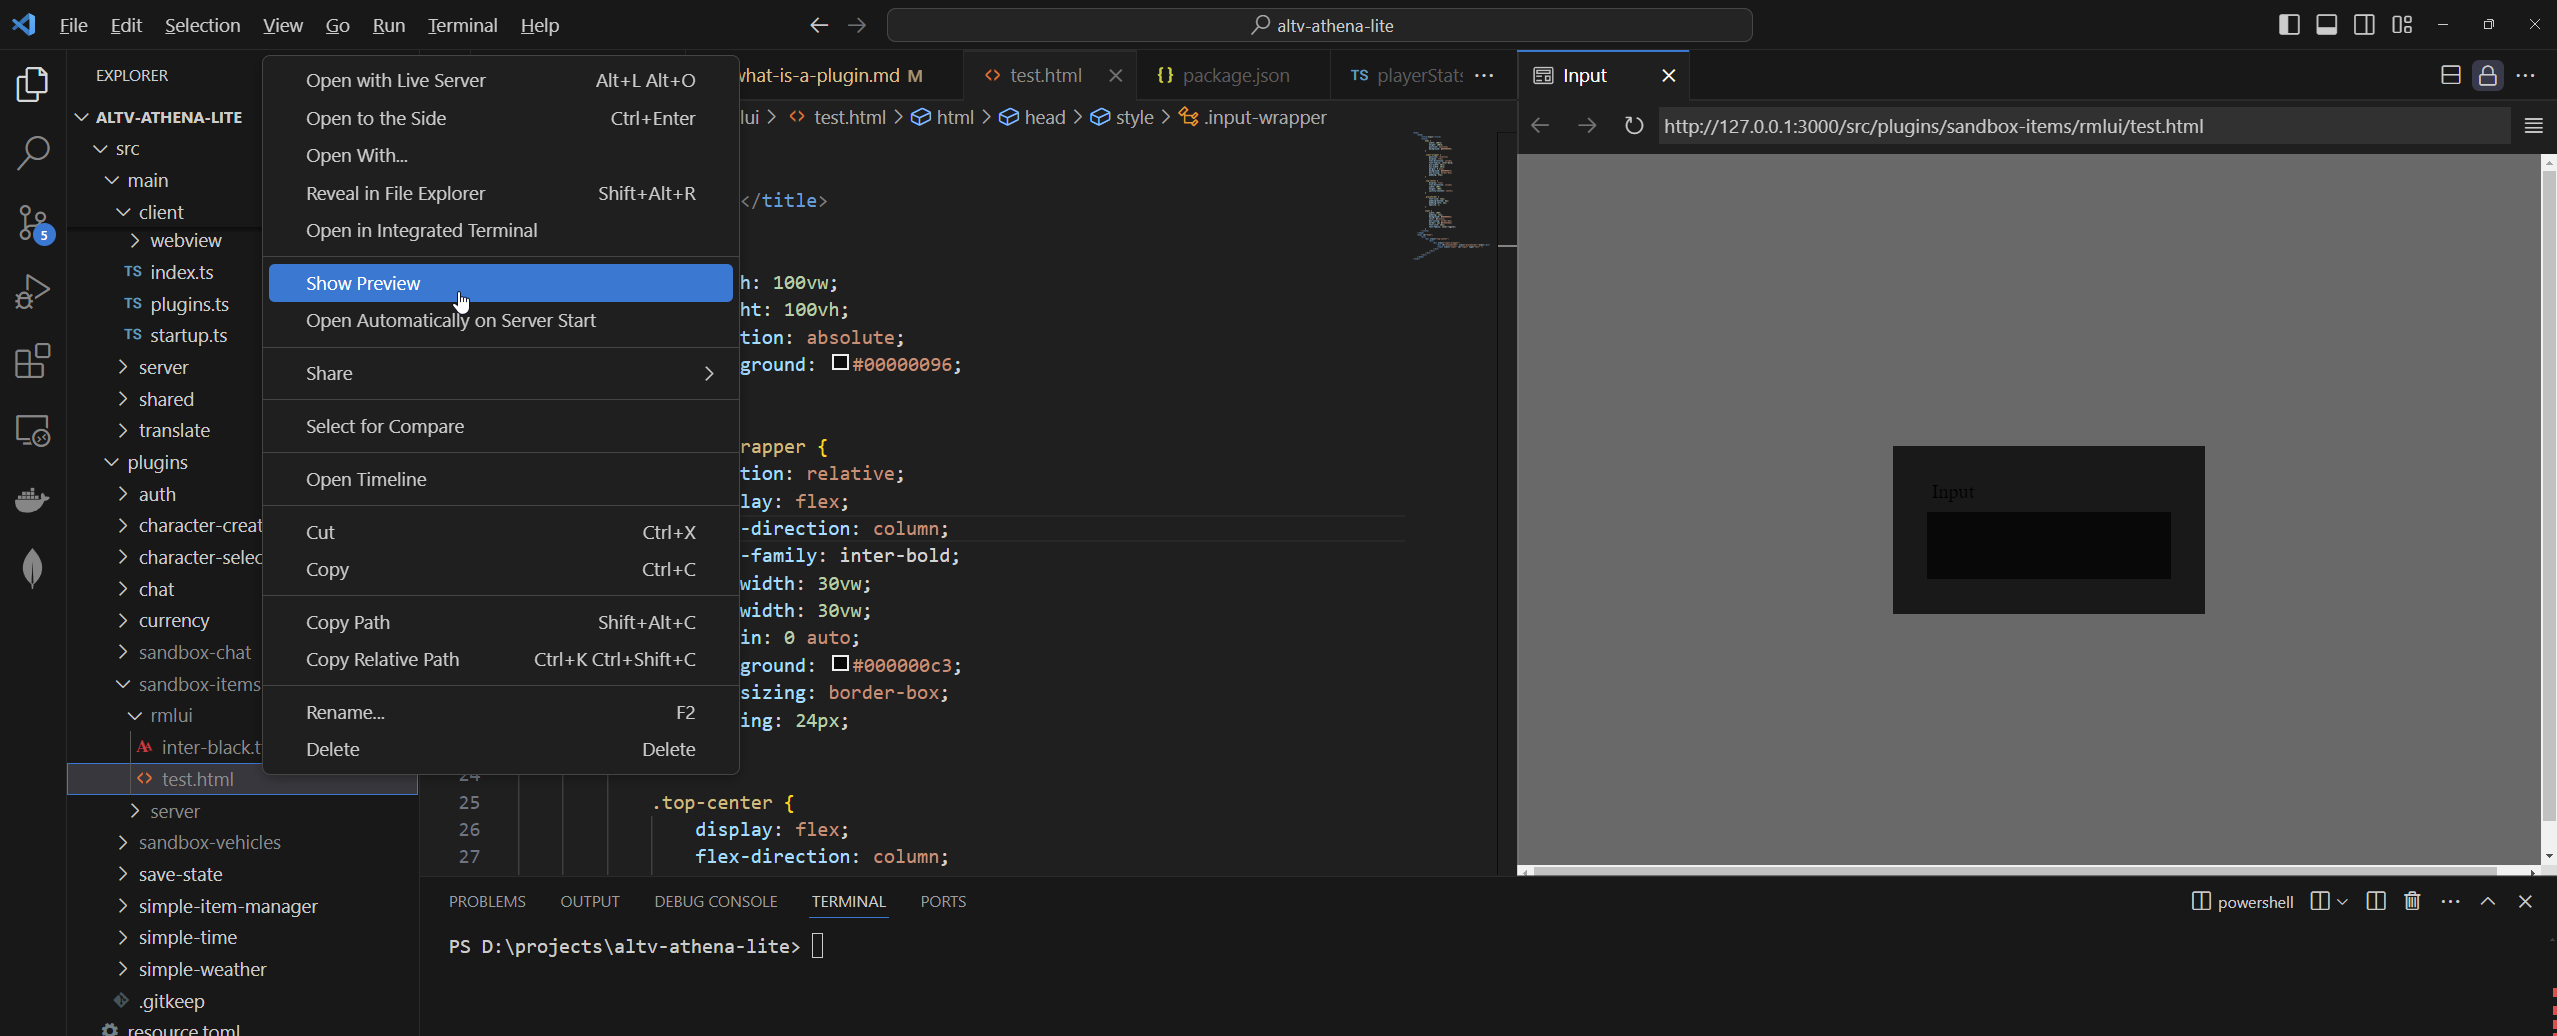
If you want live previews of your html check out VSCode Live Server Extension. Once it's installed you can right-click your html file and click Show Preview to preview it in VS Code!
#
sounds
Sounds are custom .ogg files that can be played as an asset using the Rebar.player.useAudio function.
Additionally, the images are loaded as an asset-pack and copied to the webview/public/sounds folder as well.
Here's a simple example of playing a sound called myplugin-test.ogg which is in the sounds folder.
#
Server Sound
import * as alt from 'alt-server';
import { useRebar } from '@Server/index.js';

const Rebar = useRebar();

alt.on('playerConnect', async (player) => {
    Rebar.player.useAudio(player).playSound('http://assets/sounds/myplugin-test.ogg');

    // Alternatively
    Rebar.player.useAudio(player).playSound('./sounds/myplugin-test.ogg');
});
#
Webview Sound
<script lang="ts" setup>
import { useAudio } from '../../../../webview/composables/useAudio';

const audio = useAudio();

function playSound() {
    audio.play('./sounds/myplugin-test.ogg');
}
</script>

<template>
    <div>
        <button @click="playSound">Click Me!</button>
    </div>
</template>
#
translate
Translations can be used on client-side, server-side, or webview as long as you import the translation file.
// translate/index.ts

// It is recommended to use relative paths for translation imports
import { useTranslate } from '@Shared/translate.js';
const { setBulk } = useTranslate();

setBulk({
    en: {
        'example.hello-from-server': 'Hello from server-side!',
        'example.hello-from-client': 'Hello from client-side!',
        'example.hello-from-webview': 'Hello from webview!',
    },
});
#
webview
Webview pages should always have unique names that differentiate from other plugins. Ensure you give your vue file a unique name.
// MyPluginExample.vue
<script lang="ts" setup>
import '../translate/index';
import { useTranslate } from '../../../main/shared/translate';

const { t } = useTranslate('en');

console.log(`Hello from webview`);
</script>

<template>
    <div>
        <div class="text-red-500 text-lg">{{ ERROR }}</div>
    </div>
</template>
#
Extending built-in interfaces
Imagine, you want to add a new attribute to already existing document, like Vehicle.
To not rewrite Rebar's interface, you can use this approach:
import '@Shared/types/vehicle.js';

// Your code here.

declare module '@Shared/types/vehicle.js' {
    export interface Vehicle {
        mileage: number;
        plateNumber: string;
    }
}
This approach will allow you to use defined keys everywhere.
After that, in any plugin, you'll be able to use:
import * as alt from 'alt-server';
import { useRebar } from '@Server/index.js';

const Rebar = useRebar();

const vehicleDocument = getOrCreateVehicleDocument(); // Your own implementation

const vehicle = alt.Vehicle(alt.hash(vehicleDocument.model), 0, 0, 0, 0, 0, 0);
const boundVehicle = Rebar.document.vehicle.useVehicleBinder(vehicle).bind(vehicleDocument);

vehicleWrapper.getField('mileage'); // You will see type hint there, that you're able to use 'mileage' and 'plateNumber'.
vehicleWrapper.set('mileage', 1000); // Also here
#
Dependencies
If you noticed a plugin can use npm packages for the webview or server.
It is recommended to avoid using packages where possible to keep everything 'future proofed'
Simply add a dependencies.json or package.json to your plugin folder.
Add a section called dependencies and it will automatically install the dependencies the next time you run your server.
{
    "dependencies": {
        "@formkit/auto-animate": "latest"
    }
}
#
fonts
Fonts are any files with the following extensions: otf, ttf.
Additionally, the fonts are loaded as an asset-pack and copied to the webview/public/fonts folder as well.
Image paths are absolute so if you put an image in the fonts folder then your html path will be ./fonts/myfont.ttf.
If you need the image for rmlui then your path will be http://assets/fonts/myfont.ttf.